How to Rig a Fluke Fishing Rod
Figuring out the perfect setup for fluke fishing can sometimes feel like you're trying to solve a cryptic puzzle, especially when you're standing on the dock or boat, eager to get your line in the water. Between selecting the right rod, choosing the best line, and assembling all the little pieces of terminal tackle, it’s easy to get overwhelmed. This comprehensive guide is here to untangle those frustrations, walking you through every step of how to rig a fluke fishing rod so you can confidently chase those delicious flatfish in New York's waters.
Understanding Your Fluke Fishing Rod Setup
Before we even get to tying knots, it’s crucial to understand the fundamental components of your fishing system. A well-matched rod, reel, and line are the foundation for a successful fluke fishing experience. Without them, even the best-tied rig won’t perform as it should.
Rod and Reel Selection for Fluke
When it comes to fluke, also known as summer flounder, your rod and reel aren't just tools; they're extensions of your senses. You need to feel those subtle taps and bumps as a fluke investigates your bait. For the rod, a medium-light to medium power rod, typically between 6'6" and 7'6" in length, is usually ideal. The "power" refers to how much pressure it takes to bend the rod, and a medium power gives you enough backbone to fight a decent fluke while still allowing for a sensitive tip. This sensitive tip, often described as a "fast" or "extra-fast" action, is paramount for detecting the sometimes very gentle bite of a fluke, which can often feel like a slight "tick" or added weight on your line. Whether you're fishing from a boat, where a shorter rod might be handier for maneuverability, or casting from a pier, where a longer rod could give you more distance, having that right balance is key.
For reels, you've generally got two main choices: spinning or conventional. Spinning reels are often favored by beginners or those who prefer a more direct casting experience. They're easy to use, and many anglers appreciate their simplicity. For fluke, a 3000 to 4000 series spinning reel with a smooth drag system is usually plenty. Conventional reels, on the other hand, offer more power and line capacity, making them a favorite for many seasoned fluke anglers, especially when fishing deeper waters or targeting larger fish. They provide better control over the drop and retrieve, allowing for precise bait presentation. Look for a low-profile baitcasting reel or a small conventional reel that can hold at least 150-200 yards of line. The most important feature for either reel type is a consistently smooth drag, which is essential to prevent line breaks when a big fluke makes a run.
Choosing the Right Fishing Line
The fishing line is your direct connection to the fish, and selecting the correct type and weight can significantly impact your success. For fluke fishing in New York, you'll primarily be choosing between monofilament, fluorocarbon, and braided lines, or a combination thereof.
Monofilament line, often simply called "mono," is a classic choice. It's affordable, offers good knot strength, and has a decent amount of stretch, which can be forgiving when a fish strikes hard. However, its stretch can also make it less sensitive, potentially causing you to miss subtle fluke bites. It also has a larger diameter for a given breaking strength compared to braid, which can increase water resistance and make it harder to get your rig down in a strong current.
Braided line, or "braid," has become incredibly popular for fluke fishing. It has virtually no stretch, offering fantastic sensitivity that allows you to feel even the slightest nibble. Its thin diameter cuts through the water with less resistance, helping your rig sink faster and stay in the strike zone in stronger currents. However, braid is highly visible in clear water, which is why a fluorocarbon leader is almost always used in conjunction with it. Common braid strengths for fluke range from 10 to 20 pounds. You can find a wide variety of quality braided lines on platforms like Amazon, offering different colors and break strengths to suit your specific needs.
Fluorocarbon line is known for its near invisibility underwater, making it an excellent choice for a leader material. It also has good abrasion resistance, which is important when fishing around structure or fluke with their sandpaper-like mouths. While some anglers use fluorocarbon as a main line, its stiffness and cost often make it more practical as a leader. A 15-25 pound fluorocarbon leader is typically a good choice for fluke, providing that crucial invisibility and abrasion resistance.
Essential Terminal Tackle for Fluke Rigging
Now that your rod, reel, and line are ready, let's dive into the nitty-gritty: the terminal tackle. These are the components that attach to the end of your fishing line and directly interact with the fish and its environment. Getting these right is paramount for an effective fluke rig.
Hooks: Jigs, Bucktails, and Bait Holders
The type of hook you choose, and how it’s dressed, is critical for enticing fluke. Fluke are ambush predators, often lying in wait on the bottom, so your presentation needs to grab their attention.
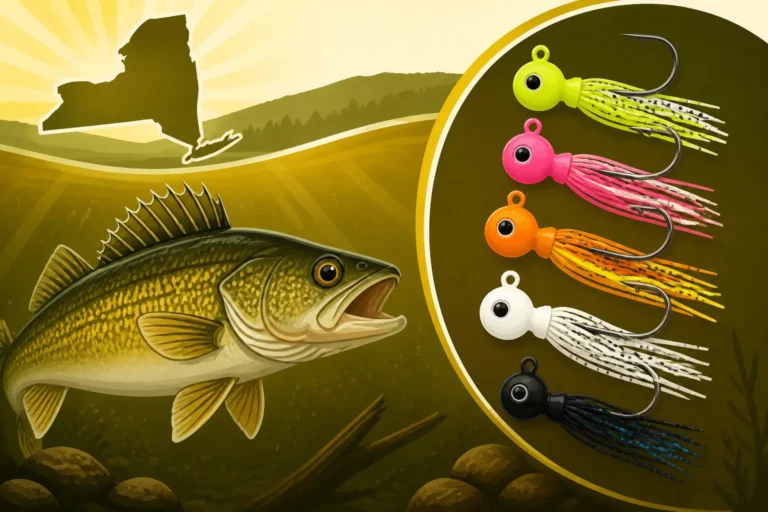
Bucktail jigs are incredibly effective for fluke. They mimic baitfish and, when jigged correctly, dart and swim in a way that triggers a fluke's predatory instincts. Sizes can range from 1/2 ounce to 4 ounces or more, depending on depth and current. A white, chartreuse, or pink bucktail with a belly strip of squid or a Gulp! Swimming Mullet is a classic and deadly combination. The single, stout hook on a bucktail is usually sufficient. Remember, a fluke hits a bucktail with surprising aggression, so a sharp, strong hook is non-negotiable.
For bait fishing, a classic bait holder hook or an Octopus hook is typically used. Sizes commonly range from 1/0 to 4/0. The "baitholder" style usually has barbs on the shank to keep the bait from sliding off, while Octopus hooks are offset for better hookups. Often, these hooks are snelled, meaning they come pre-tied to a length of monofilament or fluorocarbon leader, making rigging quicker and more reliable. When fishing with natural bait like spearing or strips of squid, ensuring the bait is threaded on correctly to present naturally is more important than the specific hook shape, provided it’s sharp.
Weights and Sinkers: Keeping Your Bait Down
Fluke are bottom dwellers, which means your bait needs to be on or near the bottom to be effective. This is where sinkers come in. The weight you choose depends entirely on the depth you're fishing, the strength of the current, and how fast your boat is drifting.
Egg sinkers are popular for sliding rigs, allowing your line to pass freely through them, which means a fluke can pick up the bait without immediately feeling the weight of the sinker. Bank sinkers, with their pyramid shape, are excellent for holding bottom in strong currents. They tend to dig into the sand or mud, preventing your rig from dragging too much. Bell sinkers are also commonly used, especially on dropper-loop rigs, as they can be easily swapped out.
The rule of thumb is to use the lightest weight possible that still allows your rig to maintain contact with the bottom and drift naturally with the boat. If you’re fishing in a strong current on the Long Island Sound, you might need a 3 or 4-ounce sinker, whereas in a calmer bay, a 1-ounce might be sufficient. Having a selection of various weights on hand is always a good idea. Many anglers stock up on these in bulk, and you can often find great deals on sinker assortments on Amazon, ensuring you're prepared for any conditions.
Swivels, Leaders, and Snaps
These smaller components might seem insignificant, but they play vital roles in the integrity and effectiveness of your fluke rig.
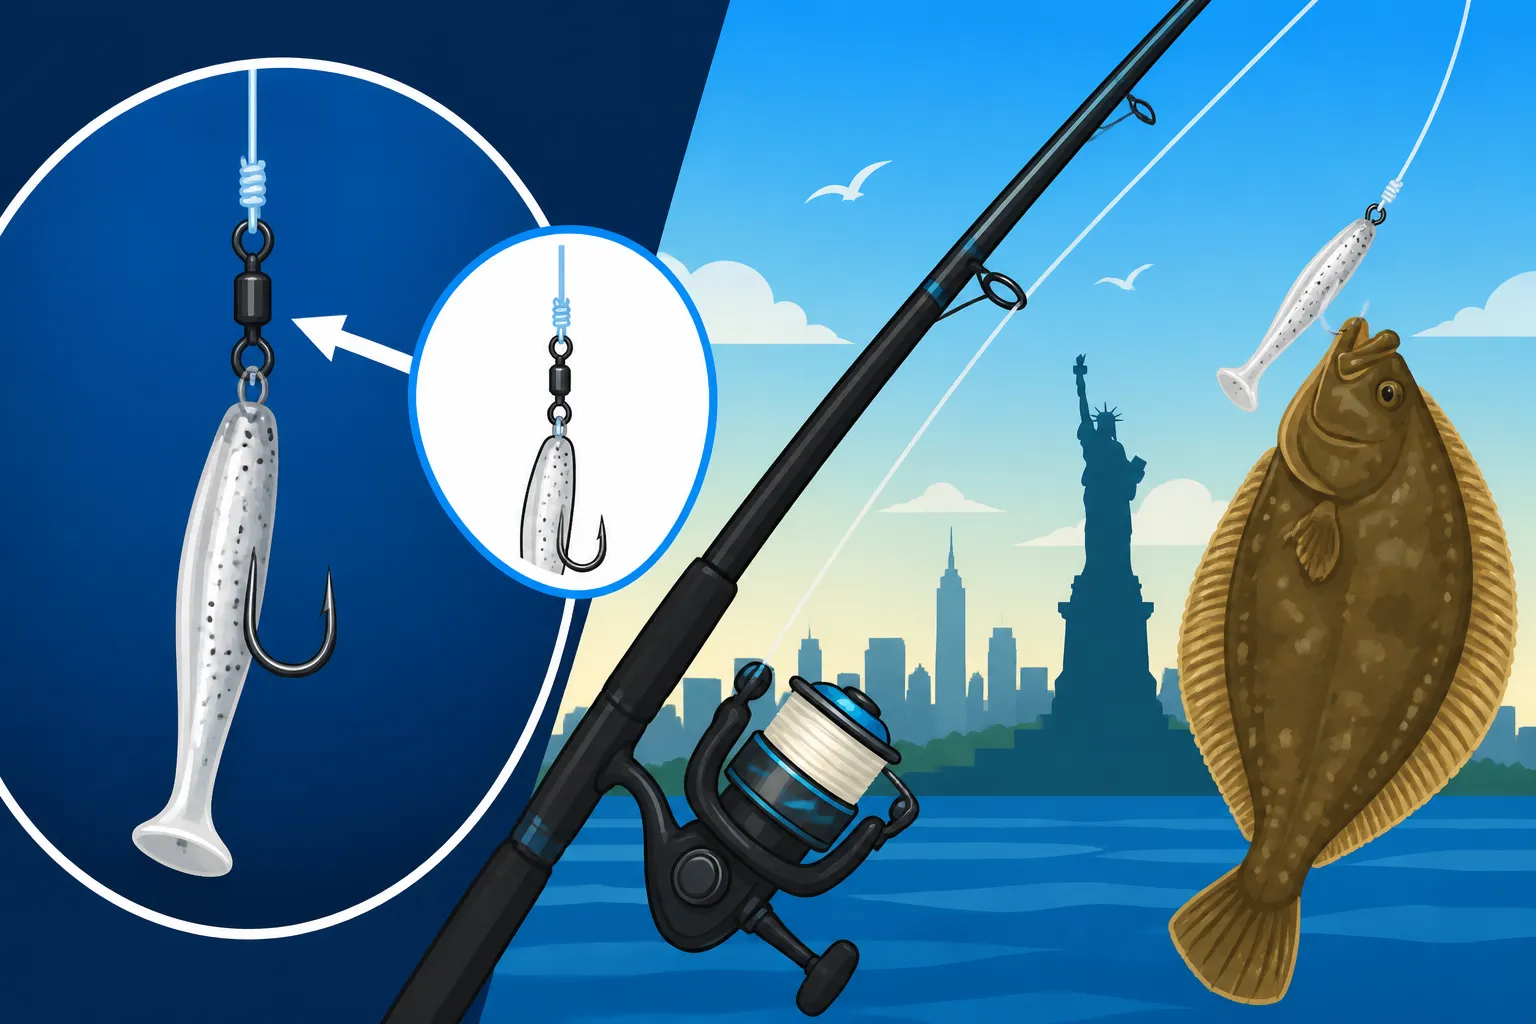
Swivels are crucial for preventing line twist, especially when drifting with spinning baits or in current. A good quality barrel swivel or a three-way swivel is essential. For most fluke rigs, a small, strong barrel swivel connecting your main line to your leader is sufficient. If you’re building a specialized rig that requires multiple dropper lines, a three-way swivel will come into play.
Leaders, as mentioned earlier, provide a low-visibility connection to your hook or lure, and also offer abrasion resistance. A fluorocarbon leader is almost universally preferred for fluke fishing. The length of your leader can vary, but typically 18 to 36 inches is a good starting point. Longer leaders offer more natural presentation, while shorter ones provide more control in strong currents. A well-tied leader knot, like a Double Uni Knot or an FG Knot, is critical for connecting your braid main line to your fluorocarbon leader.
Snaps, specifically snap swivels, are useful for quickly changing out bucktails or other lures without retying your entire leader. Just make sure the snap is strong enough for the size fish you're targeting and doesn't interfere with the action of your lure. However, when fishing with live bait, many experienced anglers prefer to tie directly to the hook or use a small, discreet swivel to maintain the most natural presentation possible.
Step-by-Step Fluke Rigging Techniques
Alright, it’s time to get hands-on! While there are countless ways to rig for fluke, a few tried-and-true methods consistently put fish in the boat. We’ll walk through the most popular and effective ones.
The Classic Sinker Rig (Sliding Sinker Rig)
This is perhaps the most common and effective rig for fluke, especially when using natural bait. Its genius lies in allowing the fish to take the bait without immediately feeling the resistance of the sinker, giving you those precious extra seconds for a solid hookset.
Here's how to tie it:
- Main Line Preparation: Start with your main line (usually braided line for sensitivity).
- Add the Sinker: Thread an egg sinker onto your main line. The weight will depend on conditions, as discussed earlier. For example, if you're drifting in moderate current on the Hudson River, a 2-ounce egg sinker might be a good starting point.
- Add a Bead: Slide a small plastic or glass bead onto the main line after the sinker. This bead serves as a buffer, protecting your knot from the sinker's constant banging.
- Tie on a Swivel: Securely tie a barrel swivel to the end of your main line using a strong knot like a Palomar knot or an Improved Clinch Knot. This swivel will stop the sinker and bead from sliding further down the line.
- Prepare the Leader: Take a length of fluorocarbon leader material, typically 18 to 36 inches long, and tie one end to the other eye of the barrel swivel.
- Attach the Hook: On the other end of the fluorocarbon leader, tie your bait holder or Octopus hook. Many anglers prefer to use a snelled hook for this rig, as it ensures a perfectly straight presentation.
- Add a Teaser (Optional but Recommended): About 6 to 12 inches above your main hook on the leader, you can add a small teaser hook. This is often tied using a dropper loop knot. A small bucktail jig, a colorful grub, or a piece of squid on this teaser can dramatically increase your chances, as it creates a second target for curious fluke.
This sliding sinker rig is fantastic for fishing sandy or muddy bottoms, allowing your bait to be presented naturally, very close to the bottom where fluke lie in wait.
The Bucktail Jig Rig
For those who prefer a more active approach, fishing with a bucktail jig is incredibly rewarding. It allows for aggressive jigging motions that can trigger powerful strikes.
- Main Line to Leader: Start with your braided main line and tie a fluorocarbon leader (24-36 inches) to it using a strong knot like an FG knot.
- Attach the Bucktail: Tie your chosen bucktail jig directly to the end of your fluorocarbon leader using a loop knot (like a Rapala knot or Non-Slip Mono Loop). A loop knot allows the jig to have a more natural, lifelike swimming action in the water.
- Add a Trailer (Crucial): This is where the magic happens. While you can fish a bucktail bare, adding a trailer almost always improves your success. A strip of real squid, a spearing, or a synthetic bait like a Berkley Gulp! Swimming Mullet or Grub are excellent choices. Thread the trailer onto the bucktail hook, ensuring it lies straight and doesn't impede the jig's action. The scent and added movement are irresistible to fluke. You can easily find various colors and sizes of Gulp! baits on Amazon, making it convenient to experiment.
- Jigging Action: Once deployed, the key is to impart action. Drop the bucktail to the bottom, give it a sharp lift of about a foot or two, and let it fall back down on a semi-slack line. The fall is when most strikes occur. Feel for that subtle "thump."
Fishing with a bucktail jig is especially effective when the drift is strong or you're actively searching for fish over varied bottom structures. For insights into mastering this technique, you might want to read more about Best Drift Speed for Fluke Fishing.
Two-Hook Fluke Rigs
Sometimes, having two baits in the water is better than one, especially when the fluke are aggressive or you're trying to figure out what they prefer to eat. Two-hook rigs, like the high-low or dropper loop rig, offer this advantage.
The Dropper Loop Rig (High-Low):
- Leader Material: Start with a longer section of fluorocarbon leader, perhaps 4 to 6 feet.
- First Dropper Loop: About 12-18 inches from one end, tie a dropper loop knot. This creates a small loop of line perpendicular to the main leader.
- Second Dropper Loop: Measure another 12-18 inches up from the first loop and tie a second dropper loop.
- Attach Hooks: Snip the top of each dropper loop to create two tag ends. Tie a bait holder or Octopus hook to each of these tag ends. You can leave the tag ends a few inches long to give your bait more movement.
- Sinker Connection: At the very bottom of your main leader (the longest end), tie on a snap swivel or just a simple loop to attach your sinker. A bank or pyramid sinker works well here to hold the bottom.
- Main Line Connection: At the very top of your leader, tie a barrel swivel to connect it to your main line.
This rig allows you to present two different baits or two different bait/teaser combinations at slightly different depths, increasing your chances. For instance, you could put a Gulp! on the top hook and a squid strip on the bottom, seeing which one gets hit more. Understanding What a Fluke Fish Is can help you tailor your bait choices for this opportunistic feeder.
| Rig Type | Components | Best Use Cases | Pros | Cons |
|---|---|---|---|---|
| Sliding Sinker Rig | Egg Sinker, Bead, Barrel Swivel, Leader, Hook | Natural bait presentation, moderate current, picky fish | Subtle bite detection, natural bait drift | Can tangle in strong current |
| Bucktail Jig Rig | Bucktail Jig, Leader, Trailer (Gulp!, squid) | Active fishing, strong current, searching for fish | Highly effective, active retrieve, exciting | Requires more skill to work effectively |
| Dropper Loop Rig | Leader, 2 Dropper Loops, 2 Hooks, Sinker | Two baits at once, experimenting with presentations | Doubles your chances, versatile | More prone to tangles if not tied well |
Tips for Effective Fluke Fishing and Rig Maintenance
Rigging your rod is only half the battle. Knowing how to use that rig effectively and keep it in top shape will translate into more fish and fewer headaches.
Baiting Your Fluke Rig
Proper bait presentation is often the difference between a successful trip and a frustrating one. Fluke rely heavily on scent and visual cues.
For natural baits like squid strips, spearing, or killifish, thread the bait onto your hook so it lies straight and natural. A common mistake is to simply stab the hook through the bait, which often causes it to spin unnaturally in the current. For a squid strip, aim to thread it through once or twice, leaving a long, fluttering tail. For spearing, thread the hook through the mouth and out the belly, ensuring the bait remains straight. Many anglers swear by the effectiveness of real squid, sometimes combined with a vibrant piece of artificial bait. You can even combine this with what you might learn about Best Bait for Striped Bass as some general bait strategies can overlap.
When using artificial baits like Berkley Gulp!, thread them onto your bucktail or hook so they appear as lifelike as possible. The scent trail from these baits is often the primary draw for fluke. Don't be afraid to experiment with different sizes and colors throughout the day.
Understanding the Drift and Presentation
Fluke fishing is all about the drift. You want your rig to be bouncing gently along the bottom, mimicking a wounded baitfish or a natural food source.
- Match the Hatch (and the Current): Pay close attention to the boat's drift speed and direction. You need to use enough weight to keep your line almost vertical, ensuring your sinker is making contact with the bottom every few seconds. If your line is trailing too far behind the boat, you're not on the bottom, and you need to increase your weight. If you're using too much weight, you won't get a natural drift. This balance is crucial for effective fluke fishing. Learning about How to Fish for Fluke on Long Island Sound will quickly teach you the importance of matching your weight to the current conditions.
- The Fluke Shuffle: Once your rig is on the bottom, engage in what's often called the "fluke shuffle" or "drift fishing." Gently lift your rod tip up about a foot or two, then slowly drop it back down, maintaining just enough tension to feel the sinker bounce. The key is to let the drift do most of the work, occasionally giving the rod a little twitch to create some movement.
- Feeling the Bite: Fluke bites can be subtle. Sometimes it's a light tap, other times it just feels like your weight got heavier, or your line went slack. Don't hesitate to set the hook firmly if you feel anything out of the ordinary. It's better to set on a snag than miss a fish!
Rig Storage and Maintenance
Taking care of your gear ensures it lasts longer and performs better. After a day of fluke fishing, especially in saltwater, proper maintenance is key.
- Rinse Thoroughly: Always rinse your rods, reels, and any reusable terminal tackle with fresh water after each trip to remove saltwater residue. Salt is corrosive and will quickly degrade your gear.
- Check Your Line and Knots: Before and after each outing, inspect your main line and leaders for nicks, abrasions, or weakened spots. Braid can sometimes fray, and fluorocarbon can get chafed. Re-tie any knots that look questionable. A compromised knot is the quickest way to lose a trophy fluke.
- Store Rigs Safely: Pre-tied fluke rigs can be stored on small foam spools or in clear tackle boxes to prevent tangles. This saves valuable time on the water, allowing you to quickly re-rig if you break off. You can organize your various sinkers, hooks, and swivels in compartmentalized boxes, which you can easily find on Amazon.
- Sharpen Hooks: Always ensure your hooks are razor-sharp. A dull hook means missed fish. Carry a small hook sharpener in your tackle box.
Remember that while having the perfect rig is a huge advantage, you also need to ensure you're compliant with regulations. Before heading out, always check the current New York Fishing License Guide and make sure you understand the specific requirements, including whether Do I Need a Fishing License to Fish in New York? and size and bag limits for fluke in your fishing area.
Disclaimer
Please note that fishing regulations, license requirements, and best practices can change. Always consult the latest New York State Department of Environmental Conservation (DEC) official guidelines before planning your fishing trip. This guide is for informational purposes only and does not constitute professional advice. Stay safe and fish responsibly.